
Alright, people, I need to share a secret. It’s a dessert thing. A cake thing. And it’s taken over my life (in the best possible way). I’m talking about cake jars, and they’re not just adorable – they’re dangerously good.
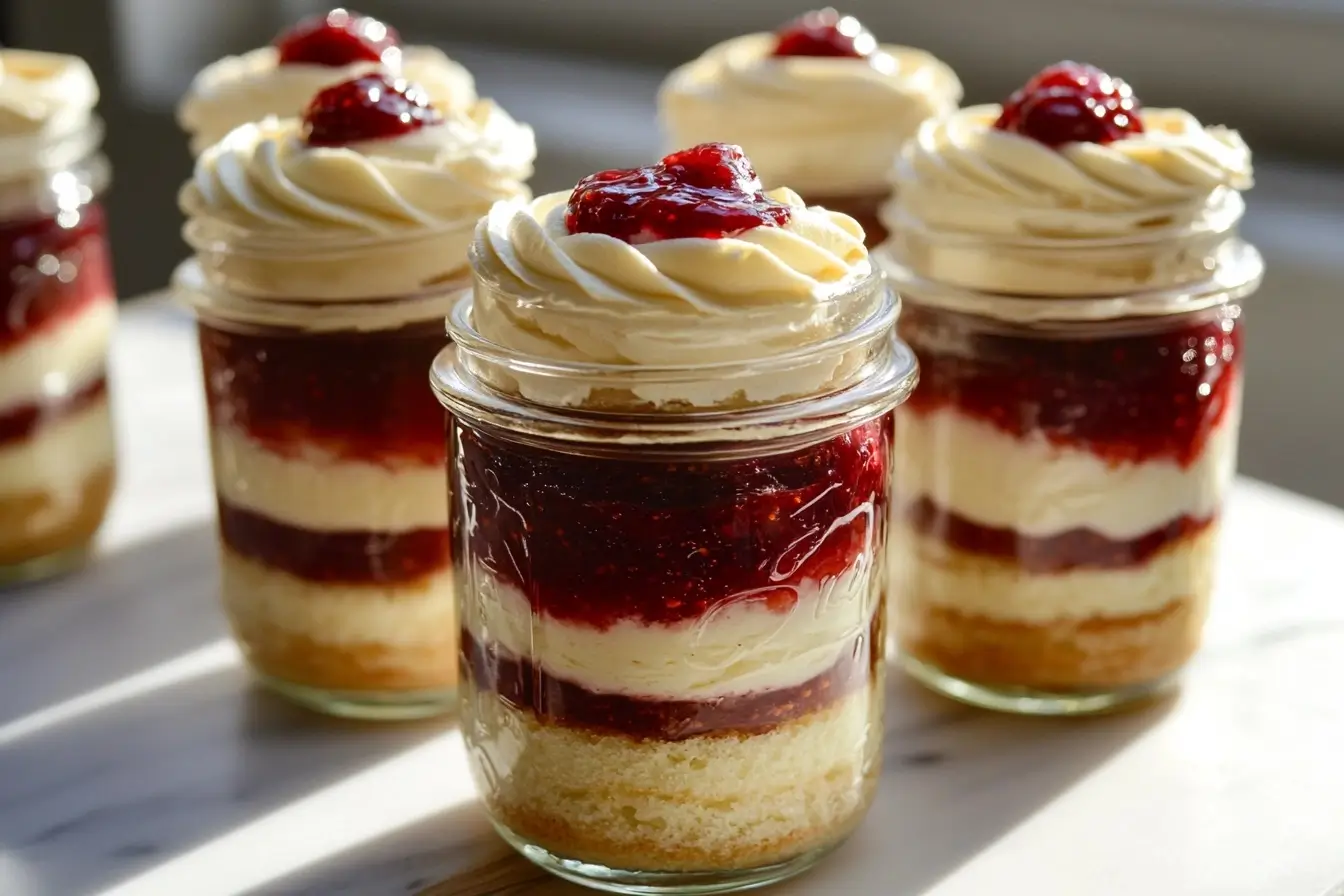
I first made these little jars of happiness for my friend Sarah’s baby shower – ages ago, it feels like! It was one of those crisp fall days when the sun makes your kitchen all warm and glowy, and you want to bake something. I was totally over the idea of a big, fussy cake. So, I grabbed some mason jars, whipped up a vanilla cake (my go-to),If you enjoy this vanilla base, you might also love trying Vanilla Brownies for a delicious variation. and layered it with the fluffiest buttercream I could manage. I even added a little raspberry jam in there. I remember thinking, “Okay, these are either a huge hit or a total flop.” Turns out, the cake jars were a massive hit. People were practically fighting over the last one! (Okay, maybe not fighting, but you get the idea.)
From that day on, cake jars became my thing. Seriously, I make them for everything. Birthdays, potlucks, thank-you gifts… even just because it’s Wednesday, and I feel like it. They’re my culinary superpower. And I’m about to share my passion for cake jars with you.
Table of Contents
Why Cake Jars Are Basically the Best Thing Ever
Okay, picture this: a cupcake, but better. A parfait, but cakier. It’s all the deliciousness of cake and frosting. Still, perfectly portioned, super portable, and, yeah, I’ll admit it, totally Instagram-worthy. For another easy, photogenic snack, check out White Chocolate Pretzels—perfect for gifting or party trays. Cake jars are a big thing now; honestly, it’s no surprise.
Here’s the deal:
Bye-bye, Messy Cake Cutting:
No more crumbs everywhere! Everyone gets their own little jar.
Flavour EXPLOSION:
You can mix and match flavours like a mad scientist when making cake jars. It’s awesome.
Moist and Delicious (Always):
The jar keeps everything perfectly moist, even for days.
The Perfect Gift:
Seriously, try it. People go nuts for cake jars.
Whether you’re throwing a party, need a quick dessert, or want to treat yourself (no judgment!), this cake jars recipe is your new best friend. It’s super adaptable—you can make it vegan or gluten-free, whatever you need!
Let’s Bake! (Ingredient Rundown)
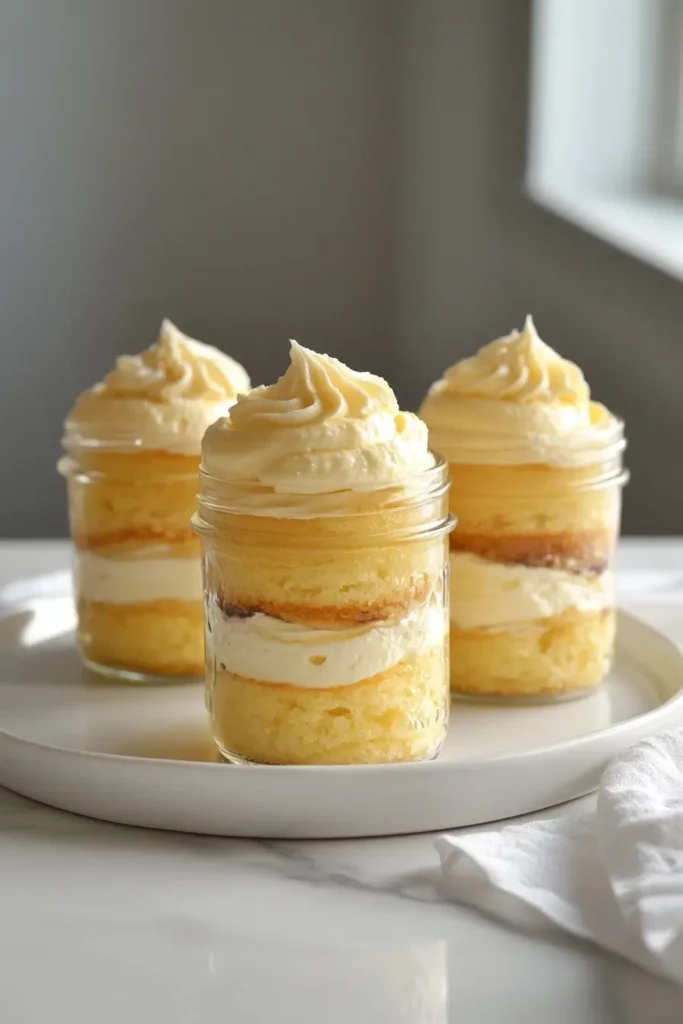
This is my classic vanilla cake jars recipe – it’s my tried-and-true, never-fails-me version:
For the Cake (The Fluffy Goodness):
- 1 ½ cups (180g) all-purpose flour (I usually use whatever’s in my pantry)
- 1 ½ tsp baking powder
- ½ tsp baking soda
- ¼ tsp salt (a tiny pinch!)
- ½ cup (113g) unsalted butter, super soft (like, leave it out for a while)
- ¾ cup (150g) granulated sugar
- 2 large eggs
- 1 tsp vanilla extract (use the real stuff – it’s worth it!)
- ½ cup buttermilk (or, here’s a trick: ½ cup milk + 1 tsp lemon juice – works like a charm!)
For the Buttercream (The Creamy, Dreamy Frosting):
- 1 cup (226g) unsalted butter, again, very soft
- 3 cups (360g) powdered sugar
- 2 tbsp heavy cream (or milk, if that’s what you have)
- 1 tsp vanilla extract
Optional Fun Stuff (Go Crazy!):
- Jam, preserves, lemon curd… whatever floats your boat!
- Crushed cookies (Oreos are excellent in these) If you love sweet and salty treats, don’t miss these Ritz Cracker Cookies—they’re no-bake, quick, and super craveable.
- Chocolate chips, sprinkles, nuts… get creative with your cake jars!
Get Good Vanilla:
Okay, I will harp on this again. Good vanilla extract is a game-changer. I’m obsessed with Nielsen-Massey – this rich, almost bourbon-like flavour is just a chef’s kiss.
Let’s Make Some Magic (Step-by-Step Instructions)
Alright, it’s time to get our hands dirty and start creating our cake jars!
Step 1: Cake is King!
- Preheat that oven to 350°F (175°C). Grab an 8×8-inch pan, grease it, and line it with parchment paper. Trust me, this will save you a headache later.
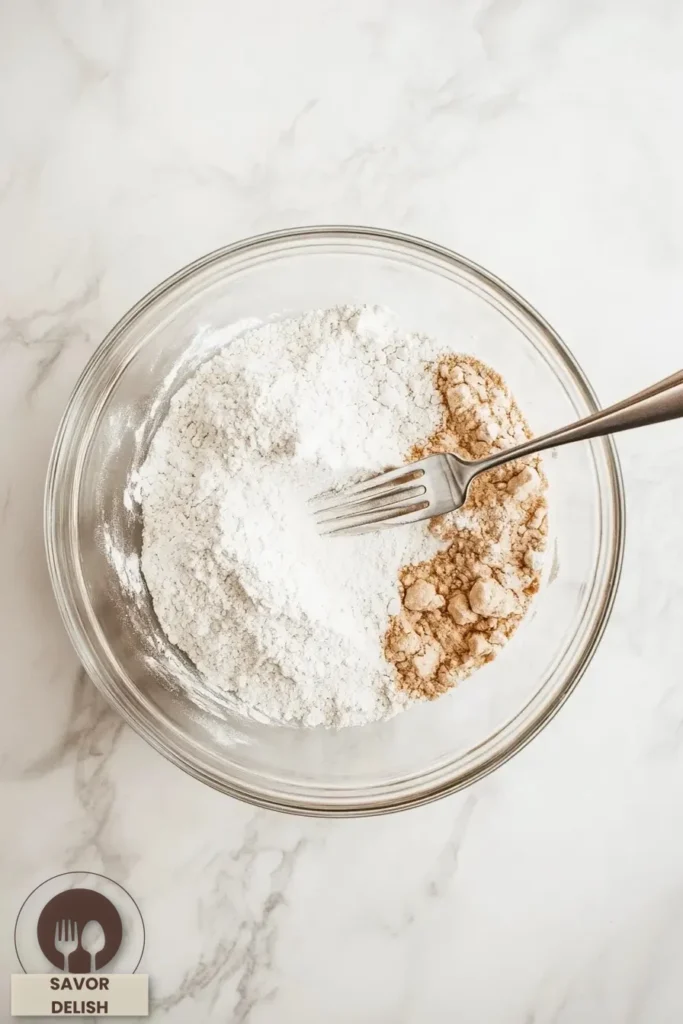
- In a bowl (any old bowl will do), whisk together the flour, baking powder, baking soda, and salt. This is your dry ingredient crew.
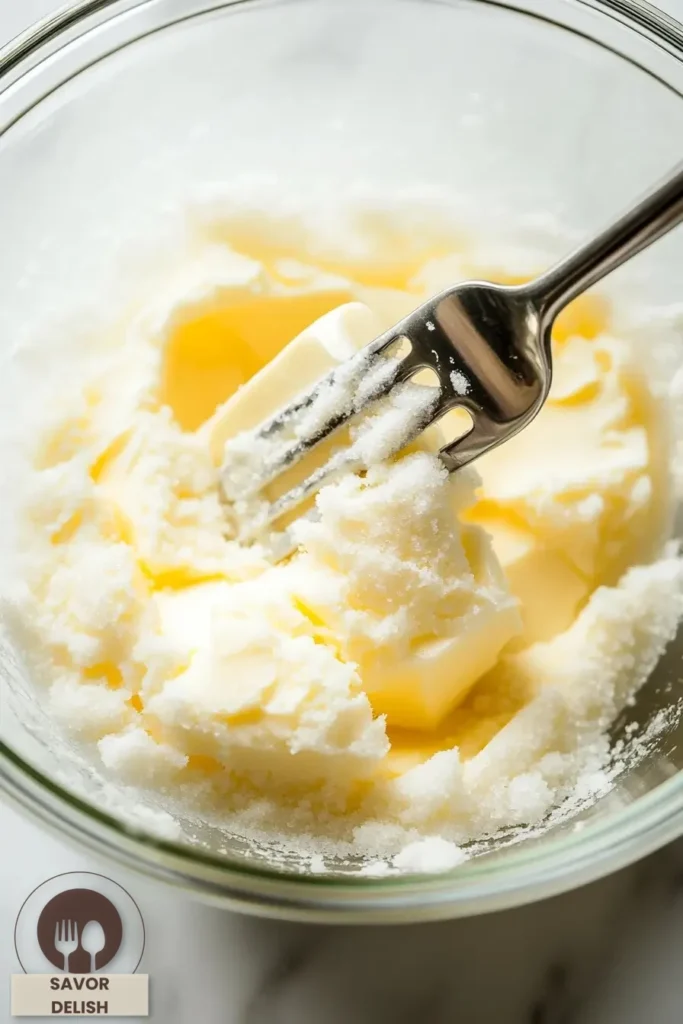
- In a larger bowl, cream together the super-soft butter and sugar until light and fluffy. This takes a few minutes, so put on some music and get into it!
- Add the eggs one at a time, mixing well after each one. Don’t rush this part.
- Stir in that glorious vanilla.
- Okay, now we will alternate adding the dry ingredients and the buttermilk to the wet stuff. Start with dry, and end with dry. Mix it all together until it’s just combined. Don’t overmix – we want a tender cake!
- Pour the batter into your prepared pan and bake for 25-28 minutes. A toothpick inserted into the centre should come out clean (or with just a few crumbs – that’s okay!). Let it cool completely. Seriously, completely.
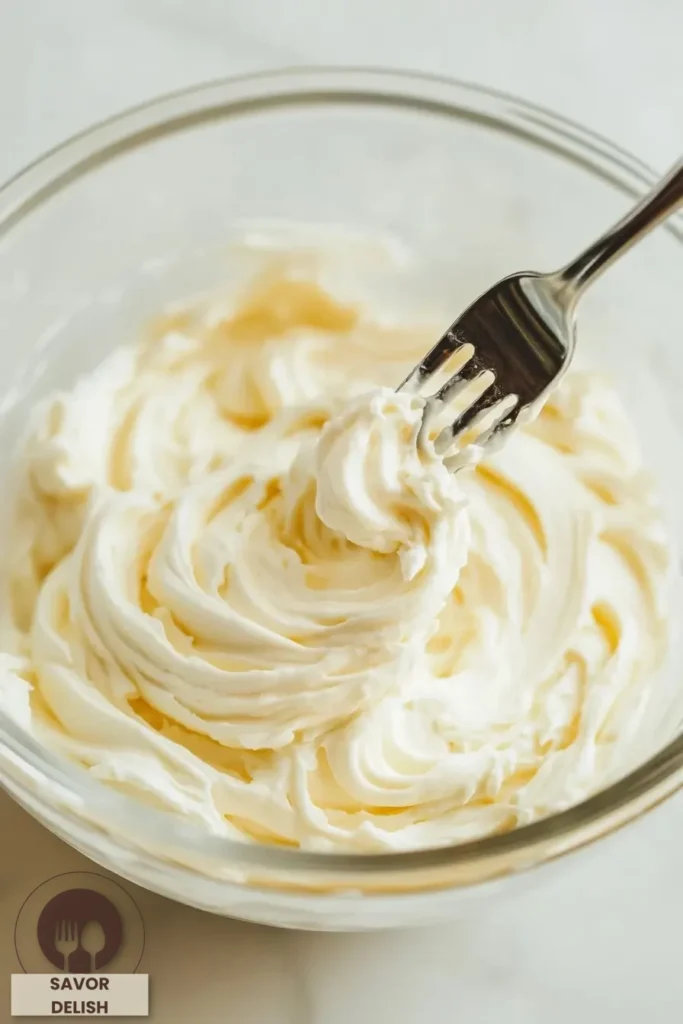
Step 2: Buttercream Time!
- Beat that softened butter until it’s creamy and smooth.
- Slowly add the powdered sugar, beating until it’s all incorporated. It might look a little dry at first, but keep going!
- Add the vanilla and cream (or milk), then whip it like crazy for 2-3 minutes until it’s light and fluffy. You want it to be almost cloud-like.
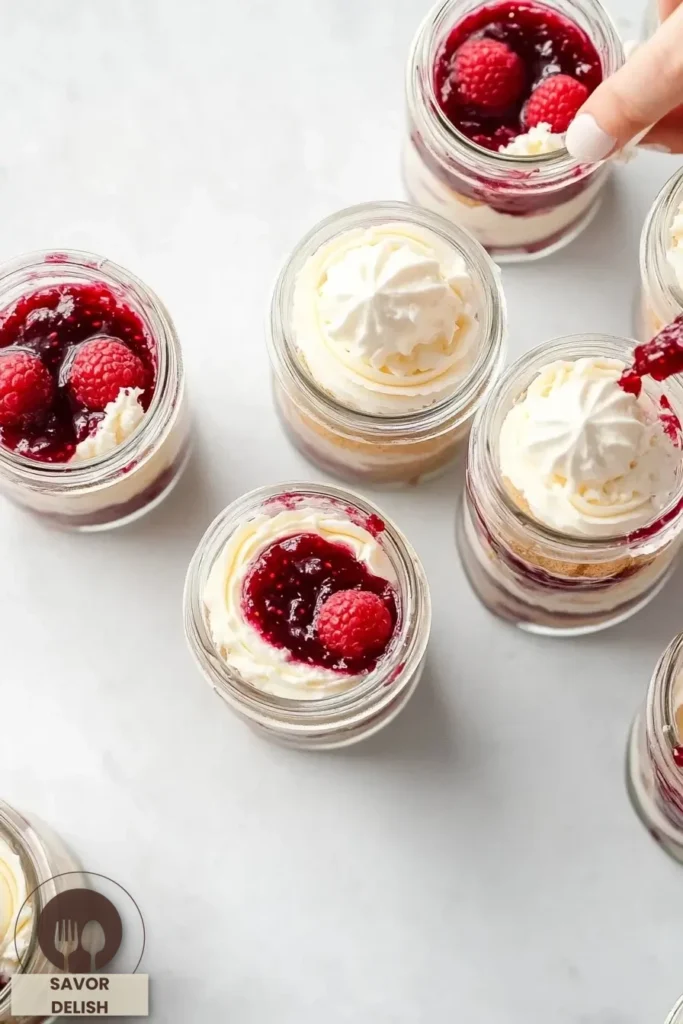
Step 3: Assemble the Jars! (The Best Part)
- Once the cake is totally cool, use a cookie cutter (or a knife, whatever works) to cut out circles that fit your jars.
- Place a cake circle in the bottom of each jar.
- Pipe or spoon in a layer of that fantastic buttercream.
- Add a layer of your chosen filling (jam, cookies, whatever you feel!).
- Repeat the layers until the jar is full, ending with a pretty swirl of frosting on top.
- Go wild with toppings! Sprinkles, fruit, a drizzle of chocolate… anything goes when it comes to decorating cake jars!
My Little Secret:
I always chill the assembled jars for at least 30 minutes before serving. It makes the layers look neater, and the flavours meld together beautifully.
Cake Jar Troubleshooting (Because We All Mess Up Sometimes)
Cake Too Dry?
You probably overbaked it. Keep a closer eye on it next time!
Layers Uneven?
Eh, it happens. Just try to make them as even as possible. It’s all about the taste, anyway!
Jars Not Sealed?
If you’re making these ahead, make sure your lids are tight!
Cake Tough?
You probably overmixed the batter. Be gentle next time!
Get Your Creative Juices Flowing (Flavor Ideas!)
Vegan Cake Jars:
Use dairy-free butter, almond milk + vinegar instead of buttermilk, and a good egg replacer. You got this!
Gluten-Free Goodness:
A 1:1 gluten-free baking blend is your best friend here.
Keto-Friendly:
Almond flour and erythritol-based sweeteners will do the trick for keto cake jars.
Flavor Combos I Love:
- Lemon cake + blueberry compote (so fresh and summery!)
- Chocolate cake + peanut butter frosting (a classic for a reason)
- Red velvet cake + cream cheese frosting (always a winner)
- Spiced Pumpkin Cake (fall favourite) + Cream cheese frosting
- Peppermint cake + chocolate ganache for the holidays.
- Lemon or orange cake with lemon curd in the springtime.
Seriously, the possibilities are endless when you start experimenting with cake jars. Go nuts!
Serving & Storing (The Boring But Important Stuff)
How to Serve:
- Add a ribbon and a tag for an instant, adorable gift.
- Display the cake jars on a tiered stand for a party – they look so fancy.
- Chilled or room temp – both are delicious.
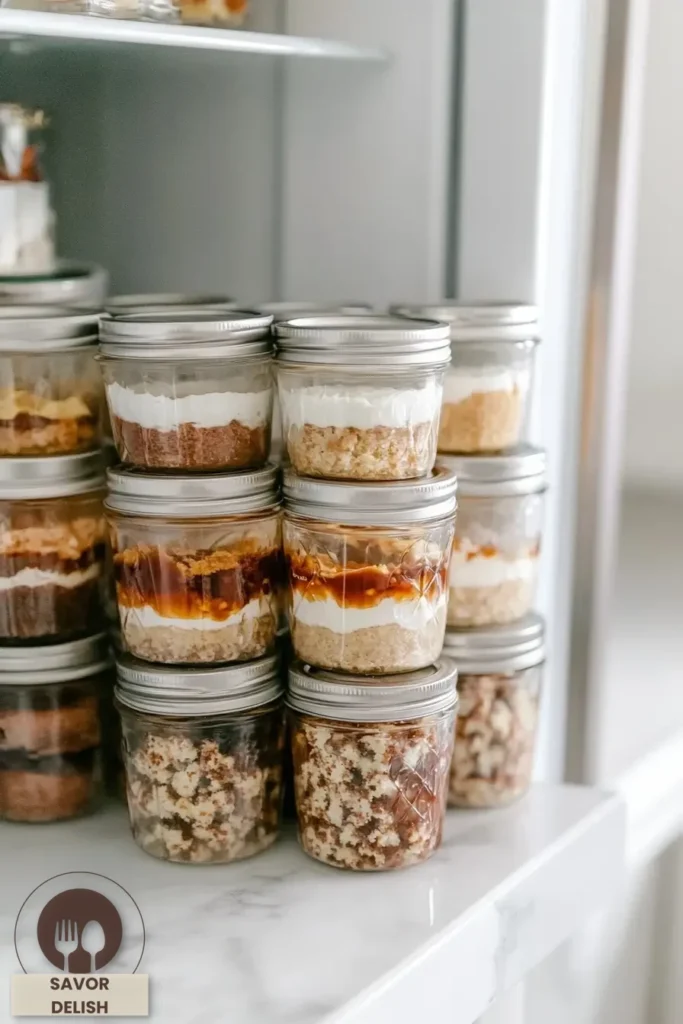
Storage:
- Fridge: Up to 5 days.
- Freezer: Up to a month (ensure they’re airtight!).
- Thaw them in the refrigerator overnight or let them sit at room temperature.
No Microwaves!
These are best enjoyed cold or at room temperature.
Cake Jar FAQs (Because You Probably Have Questions)
How long will cake in a jar last?
Cake jars can last 3 to 5 days in the refrigerator and up to 1 month in the freezer when stored in airtight jars.
What are cake jars?
Cake jars are single-serve desserts made by layering cake, frosting, and optional fillings in glass jars. They’re portable, customizable, and perfect for gifting.
Can I bake a cake in a glass jar?
While you can bake in oven-safe glass jars, it’s safer to bake the cake separately and assemble it afterward to avoid the risk of breakage.
How do you keep cake jars fresh?
Keep your cake jars in airtight containers, refrigerated, and consume within 3–5 days. Use fresh ingredients and avoid overfilling for the best results.
Seriously, Try These!
There’s something so joyful about digging into a little jar of cake. It’s like a mini celebration in every bite. So, go on, give cake jars a try! You won’t regret it.
What are your favourite cake and frosting combos? Tell me in the comments! And if you make these cake jars, please share a photo and tag me (@SavorDelish – or whatever your pretend blog is called) – I’d love to see what you create! (And maybe steal some ideas… 😉)