
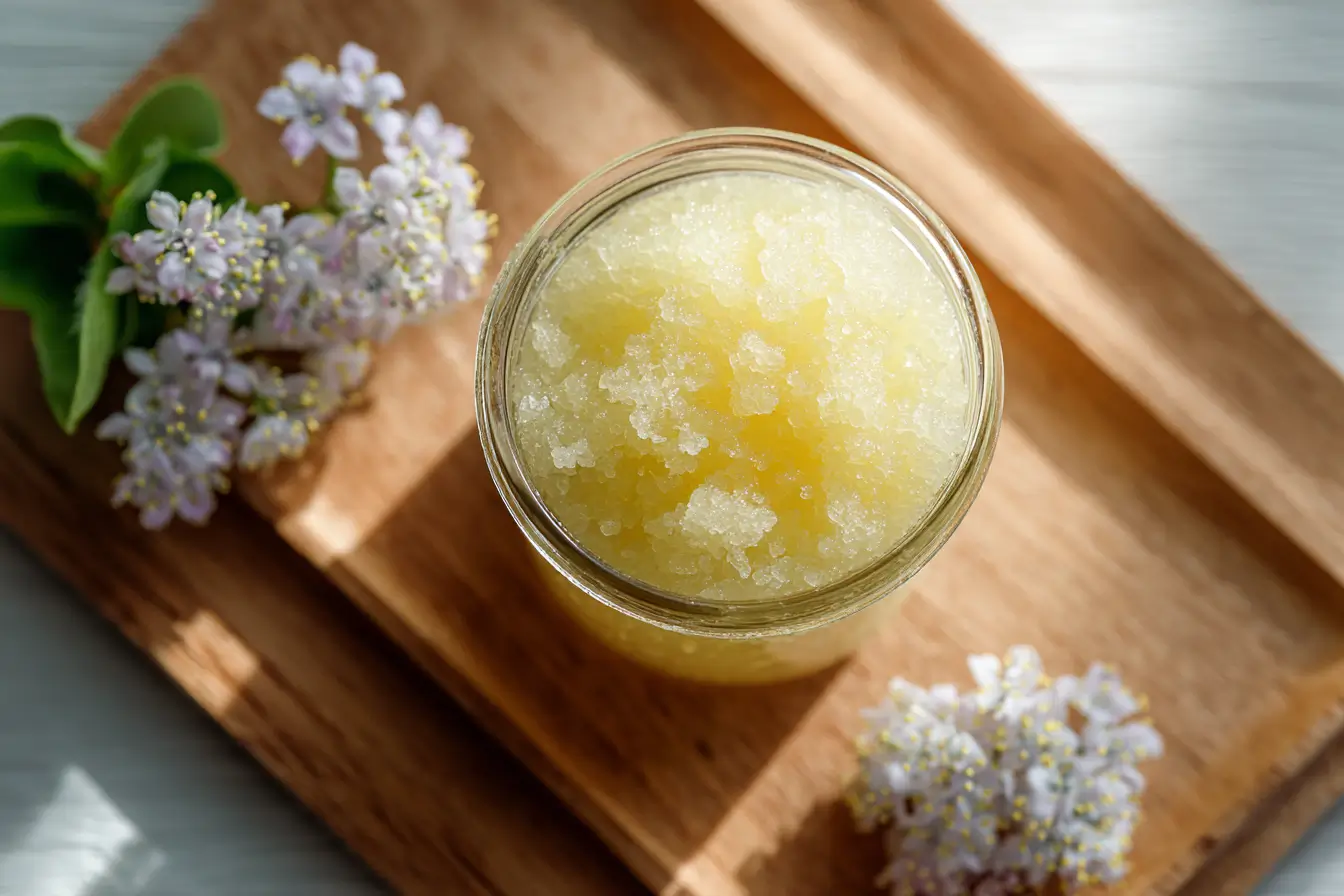
Looking for a simple way to achieve smooth, glowing skin without harsh chemicals or expensive spa visits? DIY sugar scrub recipes are a natural, cost-effective solution that gently exfoliate and deeply hydrate. With just a few pantry staples, you can create luxurious homemade sugar scrubs tailored to your skin’s needs. In this guide, you’ll learn everything from the benefits of sugar scrubs to how to mix and use them safely. Whether you’re new to natural skincare or a homemade beauty lover, this article has something for you. Let’s get started on your journey to radiant skin!
Table of Contents
Why Sugar Scrubs Became a Staple in My Routine
Hi, I’m Julia Hartman, and if there’s one thing I’ve learned over the years, it’s that confidence often starts with how you feel in your skin. When I was a teenager struggling with breakouts and dry patches, my grandmother introduced me to her old-fashioned sugar scrub—just brown sugar and olive oil. At the time, it felt like magic. Not only did it leave my skin buttery soft, but the ritual of making it by hand was so soothing.
Years later, as a mom juggling a full plate, I returned to that simple ritual. I didn’t have time for salon treatments or expensive skincare. What I did have were ten minutes before bed and a kitchen full of natural ingredients. Reconnecting with that sugar scrub reminded me that self-care doesn’t need to be complicated or costly—it needs to be consistent and kind.
That’s why sugar scrubs hold a permanent spot on my bathroom shelf and in my heart. They’re not just about exfoliation. They’re about taking a moment for yourself, breathing in calming lavender or invigorating citrus, and letting your skin soak in the nourishment it deserves.
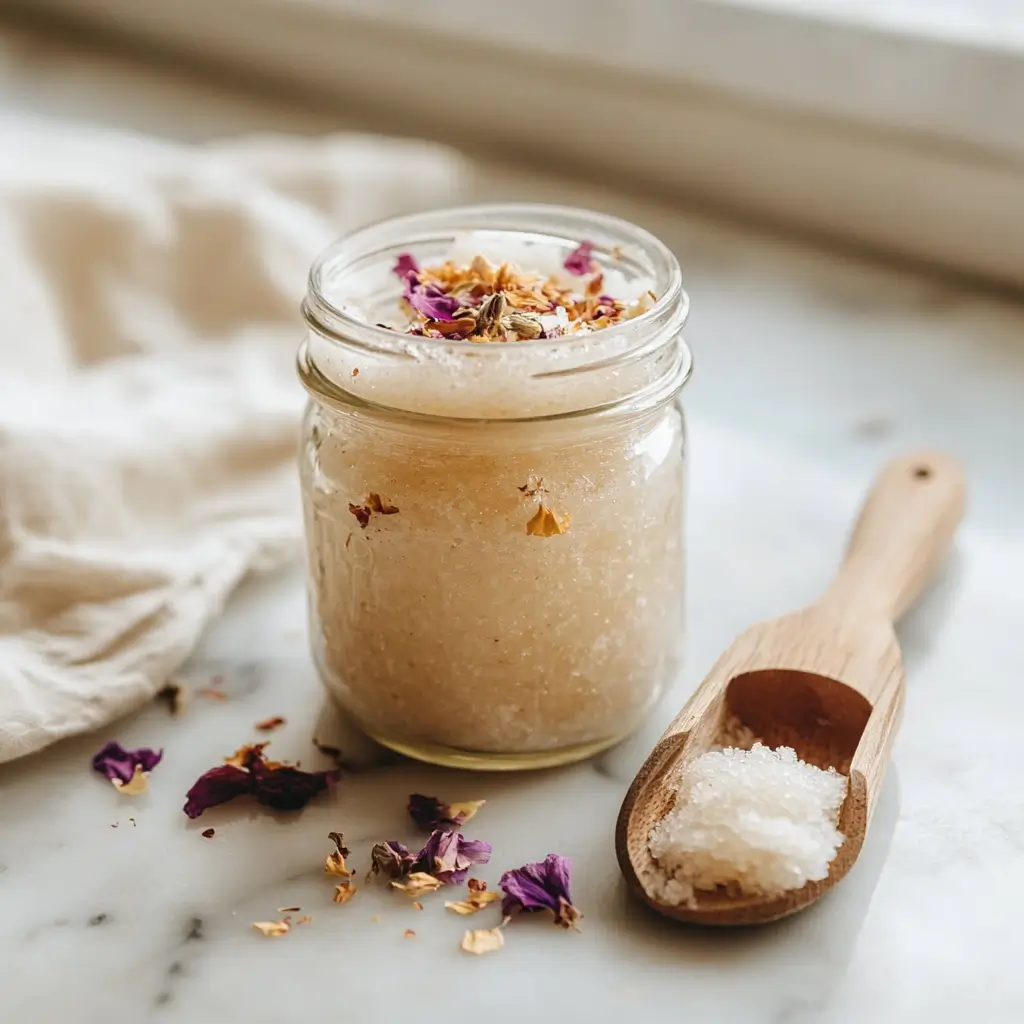
A homemade sugar scrub isn’t just skin-deep—it’s self-care in a jar. In this article, you’ll learn why they work, how to make your own, and how to tailor them to fit your skin type and goals. Let’s break it down, one granule at a time.
Two of my favorite inspirations for natural care come from this guide on natural Mounjaro-style recipes and healthy fast food swaps—they prove that homemade and health-focused can go hand-in-hand.
Why Choose a Sugar Scrub? Benefits You’ll Love
Gentle Exfoliation Without Irritation
Unlike harsh scrubs that can tear or inflame sensitive skin, sugar granules dissolve gradually during use. That means they slough off dead skin cells gently without scratching or damaging your skin barrier. Granulated white sugar works well for body scrubs, while brown sugar is softer and perfect for facial exfoliation. Both help unclog pores and promote healthy skin turnover—giving you that radiant glow we all crave.
Using a DIY sugar scrub just once or twice a week helps reveal fresher skin hiding under layers of dullness. It’s especially great for knees, elbows, and heels—those dry spots that seem to resist every lotion.
Moisturizing Power With Every Application
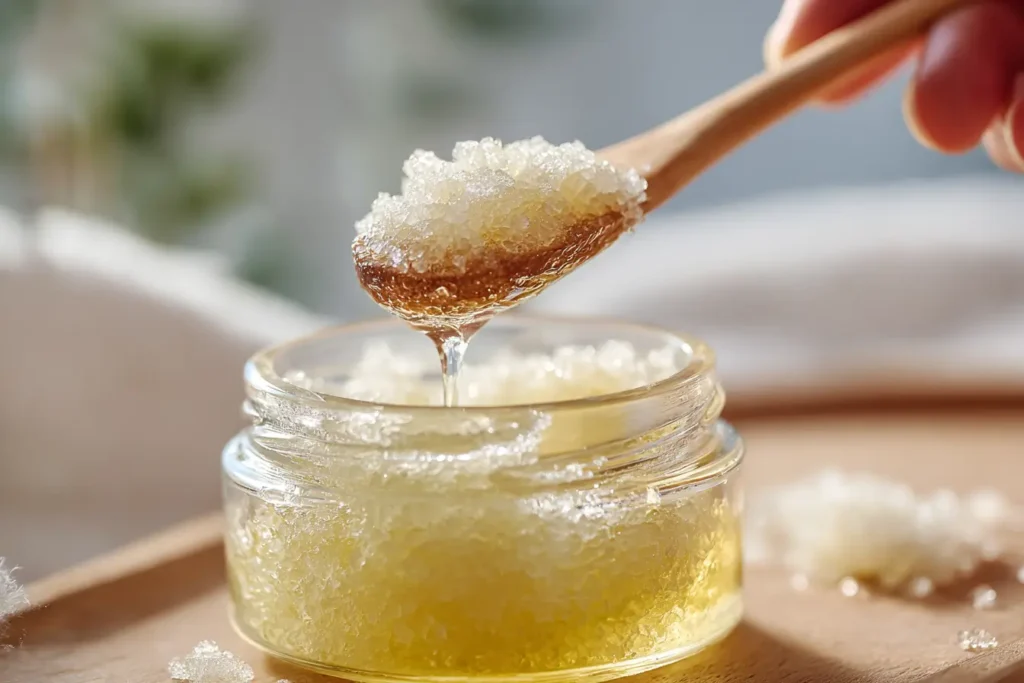
One of the best things about homemade sugar scrubs? They’re naturally moisturizing. When paired with nourishing carrier oils like coconut or almond oil, they not only exfoliate but leave behind a protective layer that locks in hydration. No more tight, flaky skin after exfoliating.
Sugar is also a humectant, meaning it draws moisture into the skin. So when combined with the right oils, your scrub becomes a mini moisturizing treatment. You’ll notice softer, smoother skin from the first use.
Regular use also reduces the risk of ingrown hairs by gently freeing trapped hairs and removing debris—especially helpful for post-shaving or waxing routines.
This simple method of exfoliation and hydration, using ingredients you can pronounce, is part of why sugar scrubs are my go-to. And it aligns perfectly with what I believe: skincare should be accessible, effective, and made with love. You don’t need a complicated routine or a cabinet full of products—just a few pantry staples and a little self-care time.
Need more simple self-care ideas? You might enjoy my blue salt detox guide or these soothing low FODMAP-friendly skin-supporting foods.
Essential Ingredients for Your DIY Sugar Scrub
Sugar: The Star Exfoliant
Not all sugars are created equal—especially when it comes to your skin. For body scrubs, coarse white or raw sugar provides the gritty texture needed to polish away dry patches. Brown sugar, with its finer crystals and natural moisture, is ideal for sensitive skin or facial use. If you’re aiming for a gentle exfoliation or using the scrub more frequently, brown sugar is your best bet.
Here’s a quick breakdown:
| Sugar Type | Best Use |
|---|---|
| White Sugar | Body exfoliation, normal skin |
| Brown Sugar | Facial use, sensitive skin |
| Raw Sugar | Rough areas like heels and elbows |
Carrier Oils: The Moisture Heroes
Sugar does the scrubbing, but it’s the carrier oils that lock in hydration. Coconut oil is popular for its antimicrobial benefits and creamy texture. Almond oil is rich in vitamin E and great for dry skin. Olive oil is a classic for deep moisture. You can even use vegetable glycerin for a non-greasy finish that still hydrates.
Here’s what I keep in rotation:
- Coconut oil: Anti-inflammatory, rich, and aromatic.
- Sweet almond oil: Lightweight and rich in skin-repairing nutrients.
- Olive oil: Accessible and intensely hydrating.
- Jojoba oil: Closely mimics skin’s natural oils, making it excellent for sensitive or acne-prone skin.
Optional Additions for a Personal Touch
This is where you can get creative. Add a few drops of essential oils like lavender for calming or peppermint for an energizing feel. You can also toss in dried herbs (like chamomile) or ground spices (like cinnamon or turmeric) for added texture and aroma.
Vitamin E oil is another favorite of mine—it’s a natural antioxidant and skin healer that extends your scrub’s shelf life. Just a few drops make a big difference.
Want more creative wellness DIYs? Try this homemade protein-packed yogurt parfait for an inside-out beauty boost, or explore natural skin-soothing foods to pair with your skincare.
Basic Sugar Scrub Recipe (with clear measurements)
Your No-Fail DIY Sugar Scrub Recipe
You don’t need fancy tools or hard-to-find ingredients to create an effective and luxurious sugar scrub at home. This basic formula is beginner-friendly, highly customizable, and incredibly satisfying to make.
Here’s my go-to base recipe:
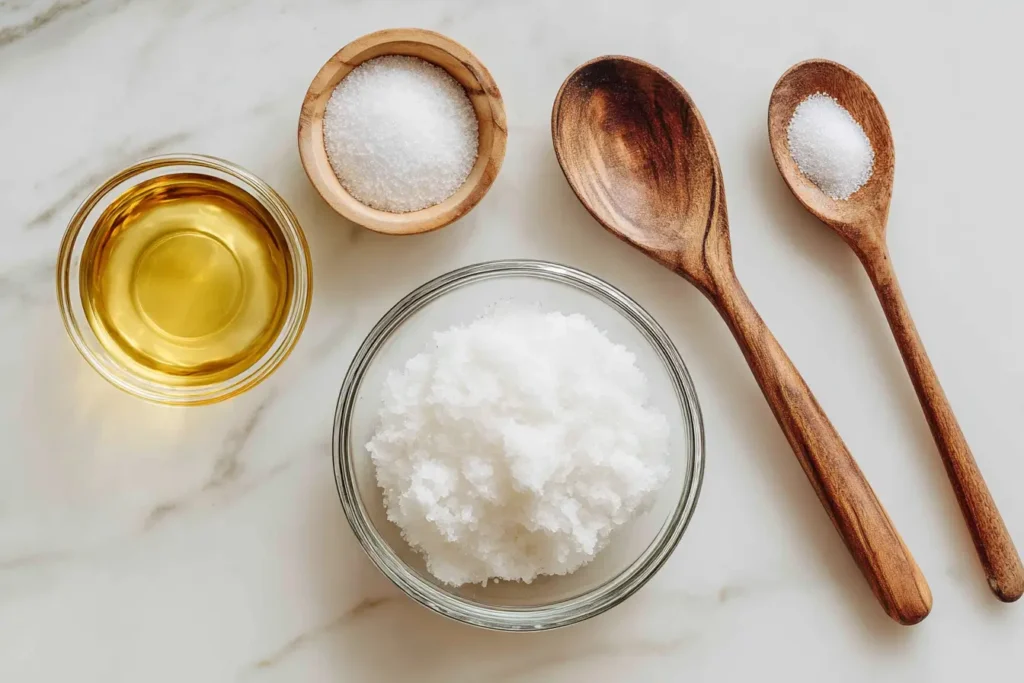
Ingredients:
- 1 cup granulated white or brown sugar
- ½ cup coconut oil (melted if solid) or almond oil
- 1 teaspoon vitamin E oil (optional)
- 10–15 drops essential oil (e.g., lavender, peppermint, lemon)
Instructions:
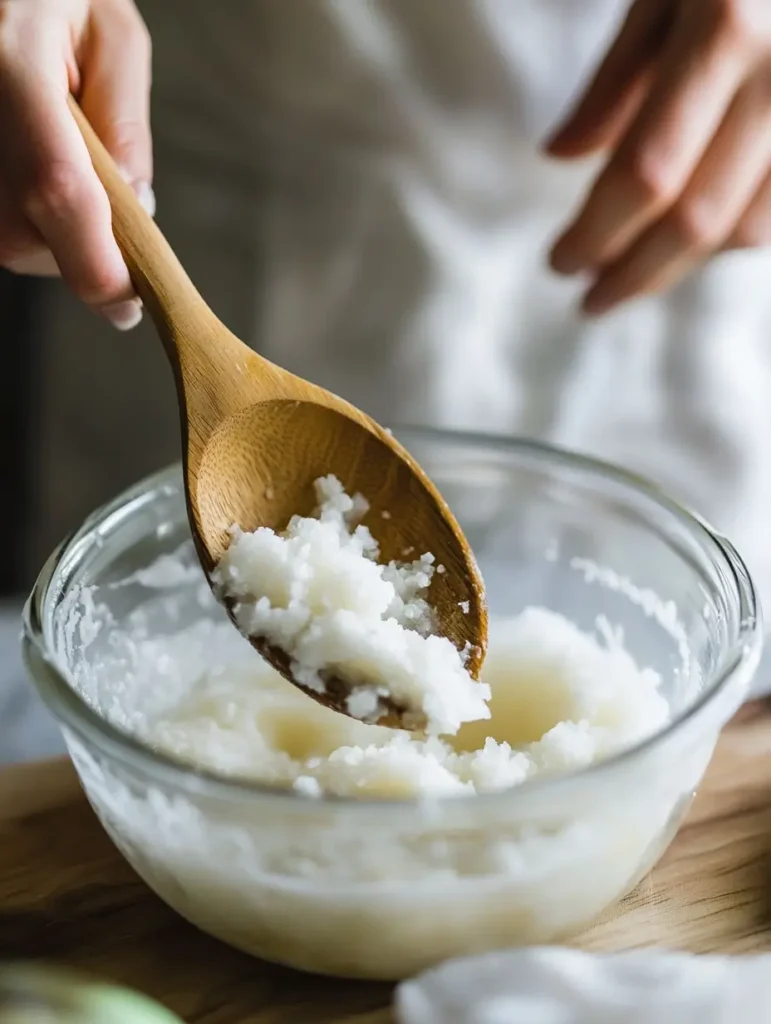
- In a clean glass bowl, combine the sugar and carrier oil.
- Stir until it forms a paste-like consistency. If it’s too dry, add a little more oil; too oily, add more sugar.
- Add your essential oils and vitamin E oil (if using), then stir again until evenly blended.
- Transfer the mixture into an airtight glass jar with a tight-fitting lid.
- Label your jar with the name and date—your scrub is ready to use!
Storage Tip: Keep your sugar scrub in a cool, dry spot away from direct sunlight. If no water enters the container, it can last 1–2 months. Avoid dipping wet fingers into the jar to preserve its shelf life.
Bonus Tip: If you’re planning a gift or party favor, try layering two scrub varieties in one jar for a pretty striped effect.
Once you master the basic recipe, you’ll be inspired to experiment. Up next, we’ll dive into customizations you’ll love—including seasonal scents and skin-specific combos.
Need something just as easy and impressive? Check out my chocolate-covered chips recipe for a sweet homemade gift that pairs well with pampering nights. Or see how I keep bath time simple with the cream cheese chicken chili comfort food and comfort skin go hand in hand.
Variations & Customization
Scented, Skin-Loving Sugar Scrubs for Every Mood
One of the most fun parts of making your own sugar scrub is customizing it. Whether you want a calming bedtime scrub or something invigorating to start your morning, there’s a blend for every vibe. Here are a few of my favorite scent combos:
- Relaxing Lavender + Vanilla (great before bed)
- Bright Citrus Burst (use lemon, orange, or grapefruit oils for an energizing shower)
- Cool Mint (peppermint oil is refreshing and helps with circulation)
- Warm Chai Spice (cinnamon, nutmeg, and clove for cozy fall vibes)
You can also play with texture and aesthetics. Add dried lavender buds or rose petals for beauty and scent. Ground coffee or oats add natural exfoliation and a touch of rustic charm. Just make sure your additions are skin-safe and finely ground so they don’t clog drains or irritate skin.
Target Skin Concerns Naturally
Want to address specific skincare needs? Customize your scrub accordingly:
| Skin Type / Concern | Recommended Add-Ins |
|---|---|
| Dry Skin | Honey, vitamin E, avocado oil |
| Oily/Acne-Prone Skin | Tea tree oil, jojoba oil, clay powder |
| Dull Skin | Lemon essential oil, ground turmeric |
Color Naturally (if you want to)
Want to add color without artificial dyes? Try:
- Beetroot powder for a pink hue
- Spirulina for green
- Turmeric for warm golden tones
These powders also provide additional skin benefits, making your scrub not only beautiful but functional.
Pair this hands-on beauty therapy with something indulgent and easy like my protein ice cream recipe or try whipping up a sweet vanilla brownie batch to enjoy post-scrub.
How to Use Your Homemade Sugar Scrub
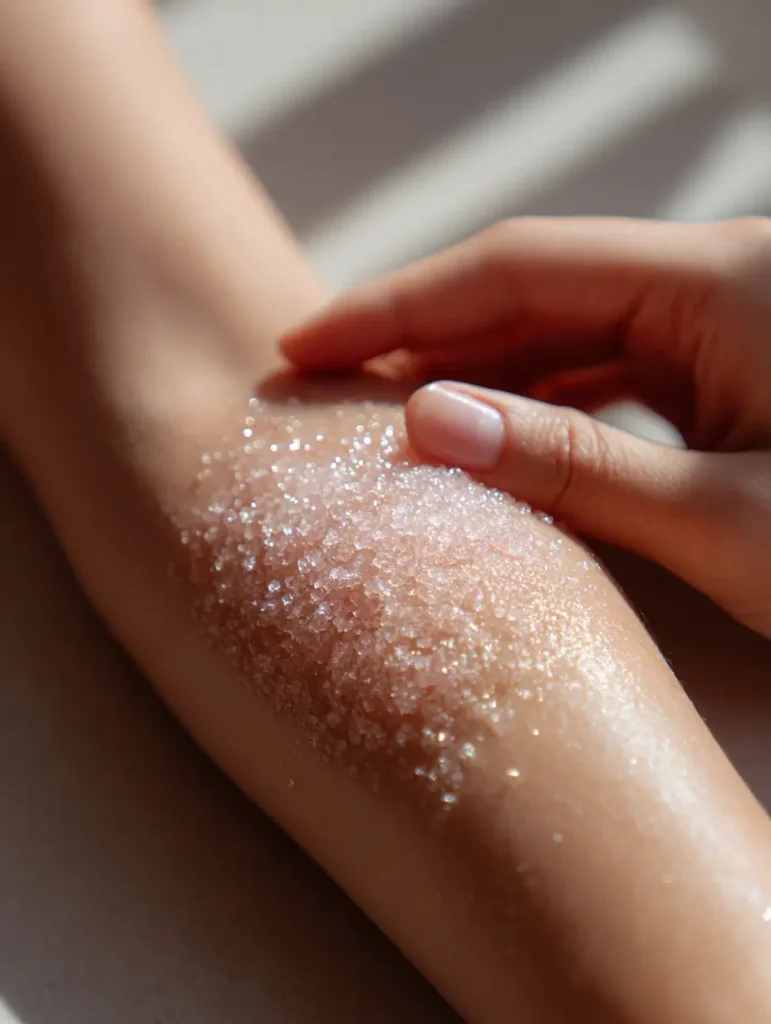
Step-by-Step for Smooth, Glowing Results
Using a DIY sugar scrub is simple, but doing it the right way makes all the difference for your skin’s health and glow. Here’s exactly how to make your scrub sessions count:
- Cleanse first: Start with clean skin. If you’re using the scrub on your face, remove all makeup and gently cleanse to avoid rubbing dirt or bacteria deeper into your pores.
- Scoop a small amount: About a tablespoon is plenty for your face or hands; a quarter cup works for legs or full-body use.
- Gently massage: In circular motions, rub the scrub into damp skin. Use light pressure—don’t scrub like you’re washing a pot! Let the sugar granules do the work.
- Focus on rough areas: Spend a little more time on areas like elbows, knees, or heels where dead skin tends to build up.
- Rinse thoroughly: Use warm (not hot) water to rinse away the sugar and oil. Your skin will feel clean, soft, and deeply moisturized.
Aftercare: Lock in That Glow
After rinsing, gently pat your skin dry with a towel. Avoid rubbing, which can irritate freshly exfoliated skin. Follow up with your favorite natural moisturizer to seal in hydration. A whipped shea butter or light body oil is ideal.
How Often Should You Use It?
For most people, 2–3 times per week is plenty. Over-exfoliating can lead to sensitivity and dryness, especially on your face. Always listen to your skin—if it feels irritated, ease up.
And remember, water is the enemy of your scrub’s shelf life. Keep it dry by using a clean spoon or scoop, not wet fingers, to take out what you need.
While you’re enjoying your self-care ritual, consider treating yourself to a cozy comfort dish like my chicken orzo bake or sweeten the evening with a chocolate-marshmallow treat.
Sugar Scrub FAQs
How often should a sugar scrub be used?
2–3 times per week is ideal for most people. If you have sensitive or dry skin, start with once a week and see how your skin reacts. Over-exfoliating can strip the skin of natural oils, so it’s best to let your skin guide the schedule.
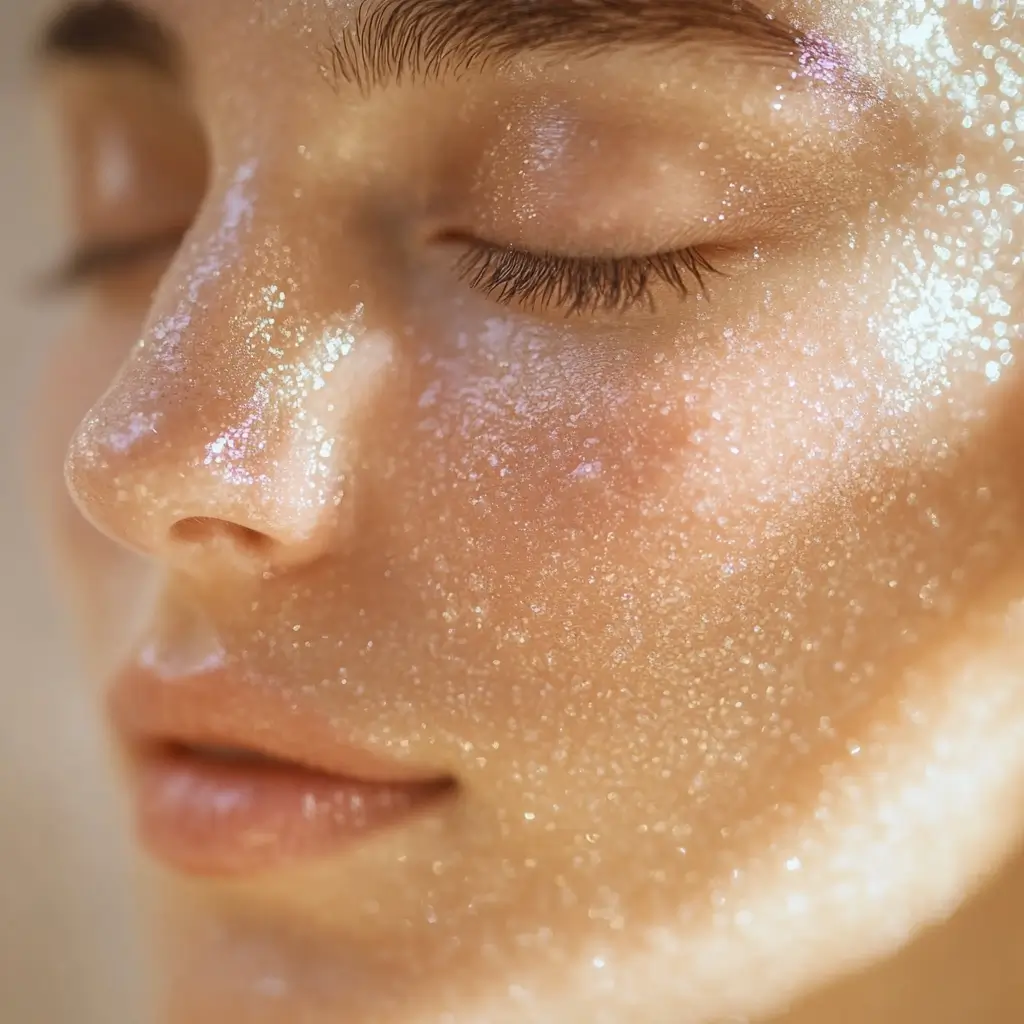
Can a sugar scrub be used on the face?
Yes, but choose the right type. Use brown sugar for its fine texture and mix it with a gentle oil like jojoba. Avoid scrubs with coarse sugar or strong essential oils on delicate facial skin. Always patch-test first if you’re new to DIY skincare.
How long does a homemade sugar scrub last?
Most sugar scrubs last 1–2 months if kept in an airtight container and stored in a cool, dry place. For best results, don’t allow water into the jar, and use clean utensils to scoop out product.
Is it necessary to wash the face or remove makeup before using a facial sugar scrub?
Yes, always start with a clean face. This helps the scrub work effectively without pushing makeup, dirt, or bacteria deeper into your skin. Use a gentle cleanser, rinse well, and pat dry before exfoliating.
Why is it important to keep water out of the sugar scrub container?
Water encourages bacteria and mold growth. Keeping moisture out ensures your scrub stays fresh and safe to use. Store your scrub in a dry environment and use dry fingers or spoons to scoop it out.
Is it safe to use sugar scrubs if one has diabetes?
Generally, yes—sugar scrubs are used topically and don’t affect blood sugar levels. However, anyone with diabetes should avoid broken skin and consult their doctor before using any exfoliating product to reduce the risk of irritation or infection.
Conclusion
There’s something wonderfully empowering about crafting your own skincare. A DIY sugar scrub isn’t just about exfoliation—it’s about feeling good in your skin, using ingredients you trust, and creating a moment of calm in your day. With just sugar, oil, and a few extras from your pantry, you can make a scrub that rivals any spa treatment.
From smoothing rough patches to boosting radiance, sugar scrubs are one of the easiest and most rewarding additions to a natural skincare routine. And the best part? You’re in control—of the ingredients, the scent, the texture, and the ritual itself.
If you haven’t tried making your own yet, now’s the perfect time. Start simple, experiment with your favorite scents, and enjoy the results. And if you do whip up a batch, I’d love to hear about it. Share your creations or ask your questions in the comments!
Because glowing skin isn’t just for the beauty aisle—it’s waiting for you in your kitchen.
Print
DIY Sugar Scrub Secrets for Glowing Skin
A simple and natural DIY sugar scrub that exfoliates and moisturizes your skin using pantry-friendly ingredients.
- Total Time: 5 minutes
- Yield: 1 cup 1x
Ingredients
1 cup white or brown sugar
½ cup coconut or almond oil
1 tsp vitamin E oil (optional)
10–15 drops essential oil of choice
Instructions
1. Mix sugar and oil in a bowl until well blended.
2. Add essential oils and vitamin E oil, mix again.
3. Scoop mixture into airtight jar.
4. Label and store in cool, dry place.
5. Use 1–2 times weekly on damp skin.
Notes
Use dry hands or a clean spoon to scoop out scrub.
Customize with natural colors or textures as desired.
For facial use, stick to brown sugar and gentle oils.
- Prep Time: 5 minutes
- Cook Time: 0 minutes
- Category: Natural Skincare
- Method: Handmade
- Cuisine: DIY Beauty
- Diet: Vegan
Nutrition
- Serving Size: 1 tbsp
- Calories: 60
- Sugar: 8g
- Sodium: 0mg
- Fat: 5g
- Saturated Fat: 4g
- Unsaturated Fat: 1g
- Trans Fat: 0g
- Carbohydrates: 9g
- Fiber: 0g
- Protein: 0g
- Cholesterol: 0mg