
A Spooktacular Story from My Kitchen
The first time I made Halloween cookies was a complete disaster—and I loved every messy second of it. I was eight years old, elbow-deep in orange icing, standing on a chair next to my grandma, who swore that cookie dough could fix anything, even a bad day at school. That October afternoon, our kitchen turned into a haunted cookie lab. Ghosts, pumpkins, bats—all unevenly shaped and wildly over-frosted—but perfect in their own right.
Fast-forward to today, and Halloween cookie cutters are still my favorite part of the season. As the creator of Savor DeLish, I’ve built my life around sharing joyful, flavor-packed recipes. And this one? It’s close to my heart. Halloween cookies aren’t just treats—they’re memories baked into every bite.
Halloween cookies aren’t just treats—they’re memories baked into every bite. If you’re in the mood for another cozy, memory-filled cookie recipe, you won’t want to miss these oatmeal craisin cookies for a chewy, sweet-tart twist.
Whether you’re making them with kids, surprising your neighbors, or throwing the ultimate Halloween bash, this guide to Halloween cookie cutters will help you create cookies that are as delightful to look at as they are to eat.

Table of Contents
Why Halloween Cookie Cutters Are So Special
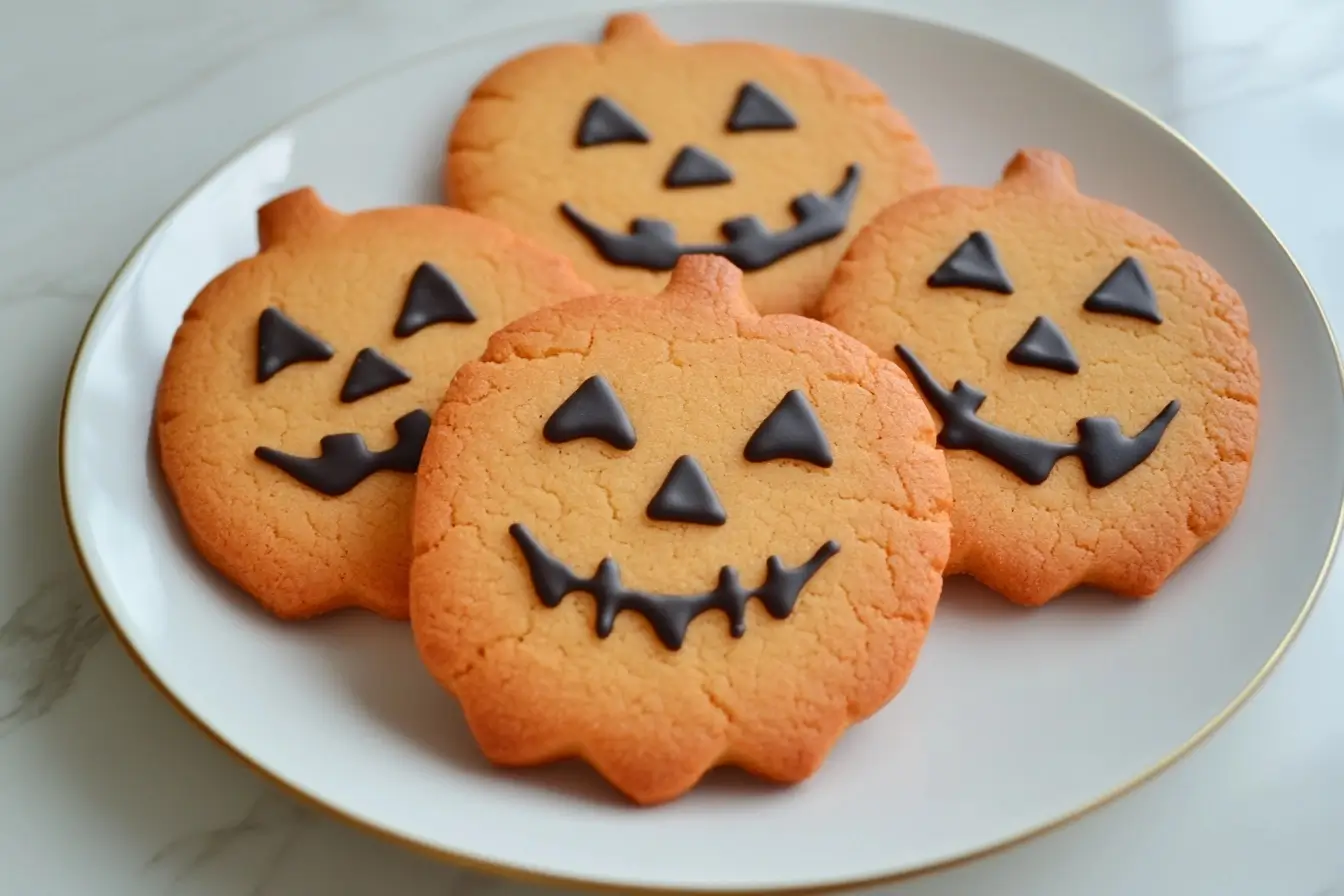
There’s something magical about pulling freshly baked cookies shaped like jack-o’-lanterns and witch hats from the oven. Halloween cookie cutters make that possible.
A Bite of Cultural Nostalgia
In the U.S., Canada, and even parts of Latin America like Mexico and Brazil, Halloween cookies are part of family traditions. From Día de los Muertos-inspired skulls to pumpkin faces, cookie shapes often reflect regional customs.
Customizable and Creative
Want gluten-free spiderweb cookies? Vegan ghosts? Keto-friendly bats? Halloween cookie cutters give you endless opportunities to be creative and inclusive.
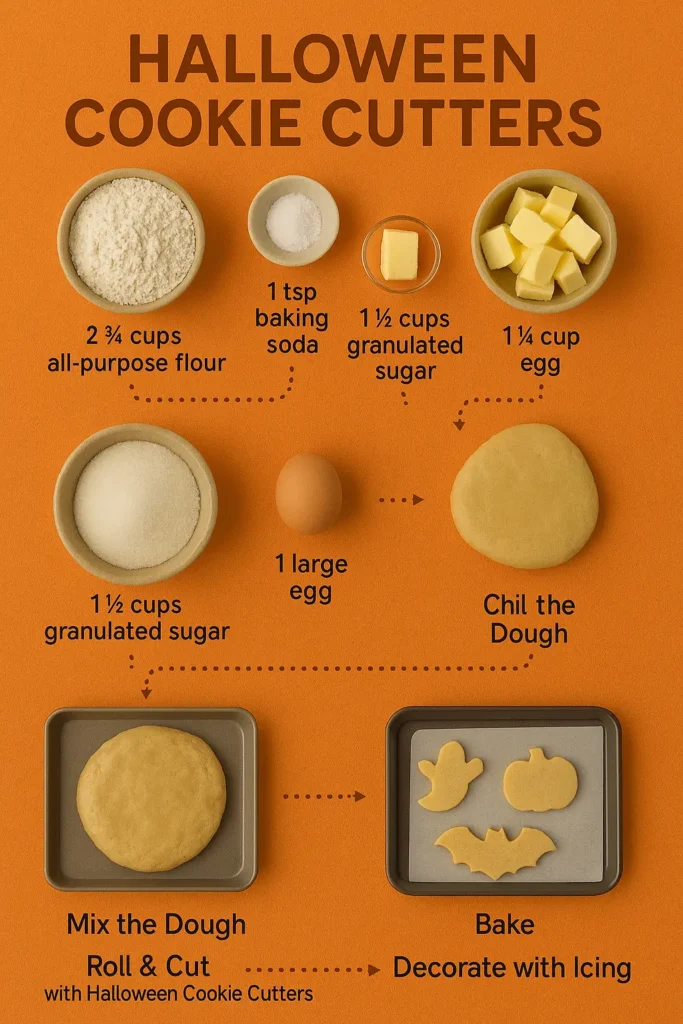
Ingredients for Classic Halloween Sugar Cookies
Makes about 24 cookies
Cookie Dough:
- 2 ¾ cups (340g) all-purpose flour
- 1 tsp baking soda
- ½ tsp baking powder
- 1 cup (227g) unsalted butter, softened
- 1 ½ cups (300g) granulated sugar
- 1 large egg
- 1 tsp vanilla extract
- ½ tsp almond extract (optional)
- 2 tbsp milk
Icing:
- 2 cups (240g) powdered sugar
- 1–2 tbsp milk
- Food coloring (orange, black, green, purple)
- Sprinkles, candy eyes, edible glitter
Ingredient Tips:
- For richer flavor: Use European-style butter.
- No almond extract? Use extra vanilla or try lemon extract for a zingy twist.
- For vegan cookies: Substitute butter with plant-based margarine and use a flax egg (1 tbsp flaxseed meal + 3 tbsp water).
Step-by-Step Instructions for Spooky Perfection
1. Mix the Dough
In a large bowl, cream butter and sugar until fluffy (about 3 minutes). Add egg, vanilla, and almond extract. Beat until combined. Slowly mix in flour, baking soda, and baking powder. Add milk until dough pulls together.
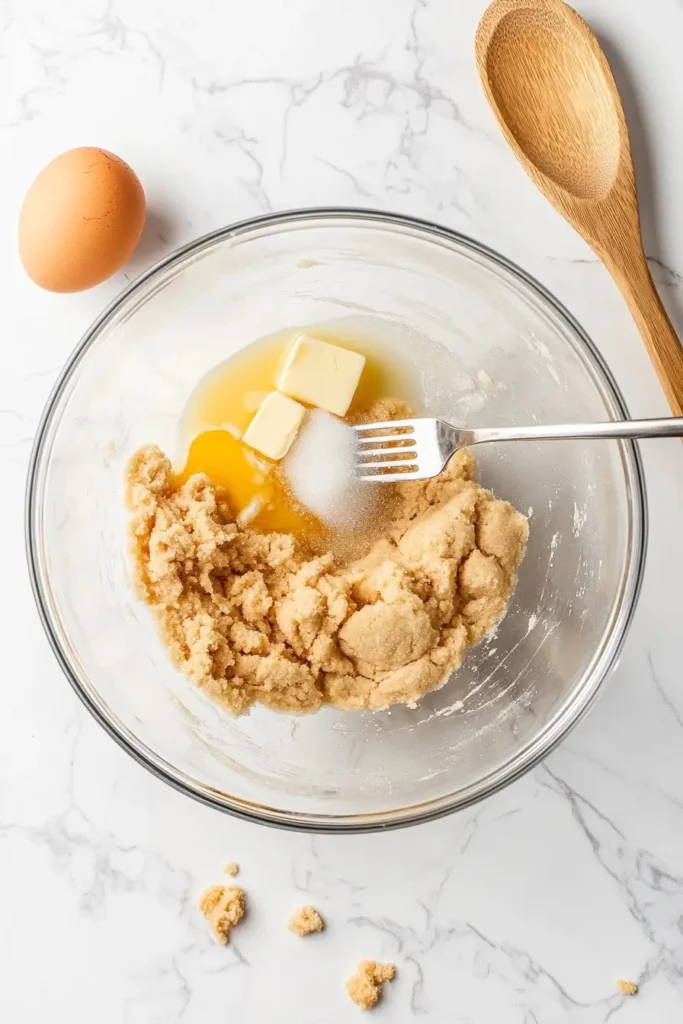
Pro Tip: If the dough feels sticky, add a tablespoon of flour. Too dry? Add a splash more milk.
2. Chill the Dough
Wrap dough in plastic wrap and refrigerate for at least 1 hour.
Why it matters: Chilling helps the dough firm up, preventing the cookies from spreading during baking.
3. Roll and Cut
Preheat oven to 350°F (175°C). Roll dough on a floured surface to ¼-inch thickness. Use Halloween cookie cutters to cut shapes.
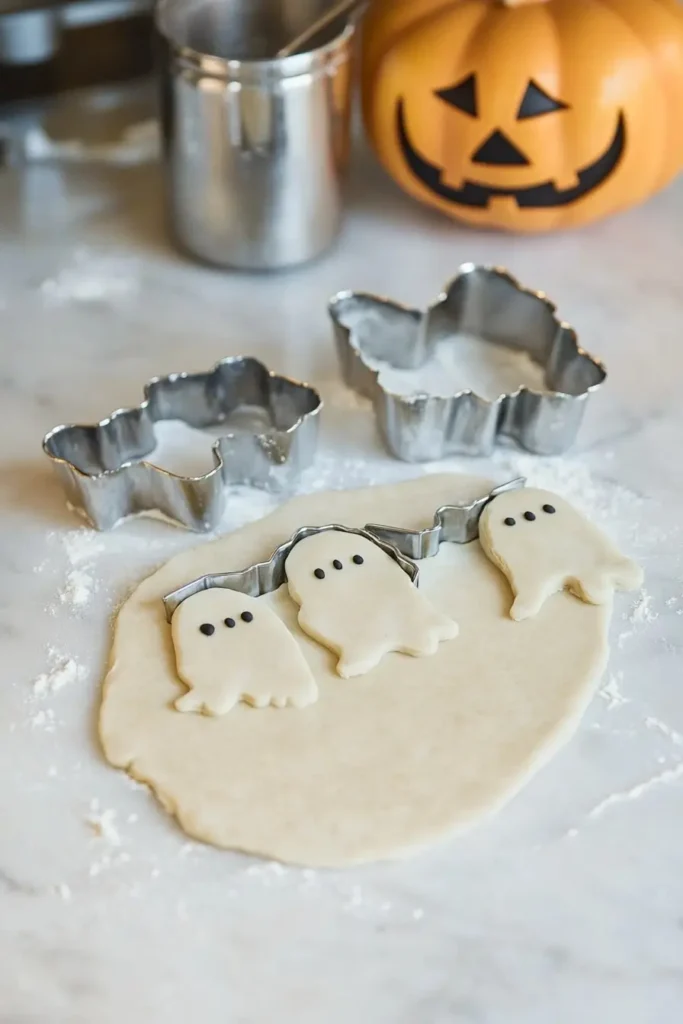
Pro Tip: Dip cutters in flour to prevent sticking.
4. Bake
Place cookies on a lined baking sheet. Bake for 8–10 minutes or until edges are lightly golden. Cool on a wire rack.
5. Decorate
Mix icing ingredients until smooth. Divide and color. Use piping bags or zip-top bags with snipped corners for precision.
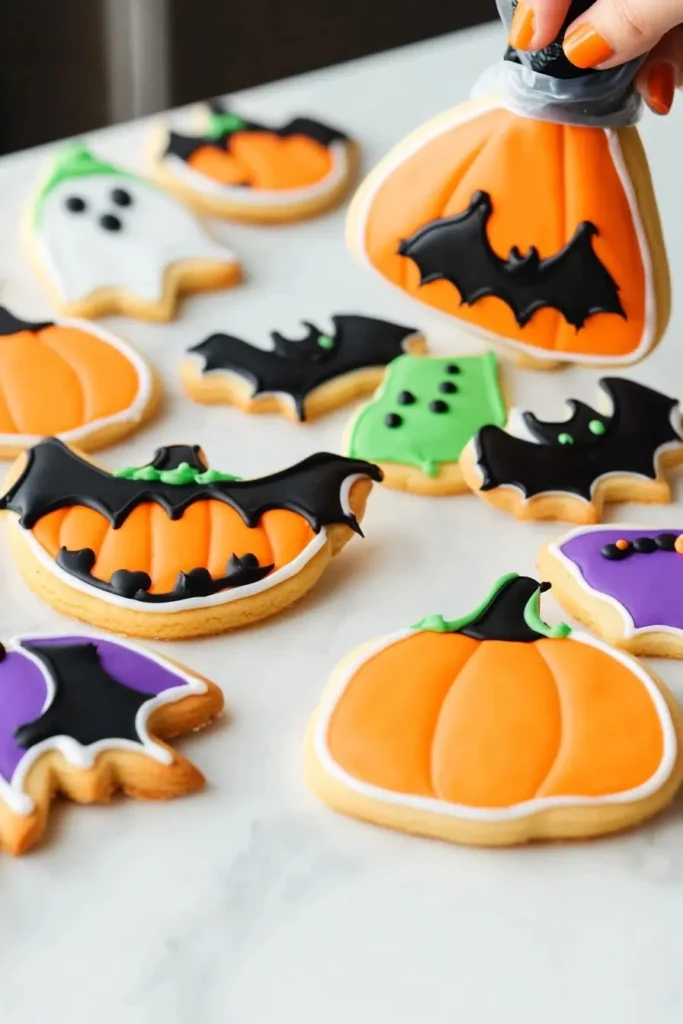
Decorating Tip: Start with a base layer and let it dry before adding details. This prevents smearing.
Pro Tips & Common Mistakes to Avoid
Tips for Success:
- Chill your dough for cleaner cuts.
- Let cookies cool completely before decorating.
- Use gel food coloring for vibrant, non-runny icing.
Mistakes to Dodge:
- Don’t overbake—cookies continue to cook after you remove them from the oven.
- Don’t skip chilling the dough. It’s key to keeping those spooky shapes intact.
- Avoid thin dough—it leads to crisp, not chewy, cookies.
Creative Variations & Dietary Twists
Vegan Halloween Cookies:
- Use vegan butter and a flax egg.
- Choose plant-based food coloring.
Gluten-Free Options:
- Substitute with 1:1 gluten-free baking flour.
Flavor Twists:
- Add cinnamon, nutmeg, or pumpkin spice to the dough.
- Try lemon or orange zest in the icing.
Flavor Twists: Add cinnamon, nutmeg, or pumpkin spice to the dough. If you’re in the mood for a chewy, buttery dessert with caramel notes, these vanilla brownies make a perfect companion to your spooky treats.
Fun Shapes & Themes:
- Try skulls for Día de los Muertos.
- Create a “monster mash” tray with mismatched decorations.
How to Serve & Store Halloween Cookies
Serve With Style:
- Arrange on a black platter with Halloween décor.
- Pair with hot cider or a Halloween cocktail.
Storage:
- Store in an airtight container for up to 5 days.
- Freeze undecorated cookies for up to 3 months.
- Iced cookies can be frozen, but colors may slightly fade.
Frequently Asked Questions (FAQs)
Where can I buy Halloween cookie cutters?
You can find them at big-box stores like Target or Walmart, craft stores like Michaels, or online at Amazon and Etsy. Look for sets with multiple shapes for more variety.
Where to buy Halloween cookie cutters?
Specialty baking shops and online retailers often carry themed sets around September and October. Check out seasonal sections in stores for budget-friendly options.
How to make Halloween cookie cutters?
DIY your own by shaping strips of aluminum (like soda cans) or using 3D printer templates. You can also repurpose metal cookie cutters by bending them into spooky shapes.
How to make Halloween cookies without cookie cutters?
Roll out your dough and use a knife or stencil to cut shapes by hand. Cups, jar lids, or even play dough tools work in a pinch. Embrace the homemade look!
Conclusion: Bake, Create, and Share the Fun
Halloween cookie cutters do more than shape cookies—they shape memories. With a little creativity, some vibrant icing, and a lot of sprinkles, you can transform your kitchen into a haunted cookie wonderland.
I’d love to see your spooky masterpieces! Tag @SavorDeLish on Instagram, pin this recipe on Pinterest, or drop a comment below with your favorite Halloween cookie story.
Happy haunting—and even happier baking!
Print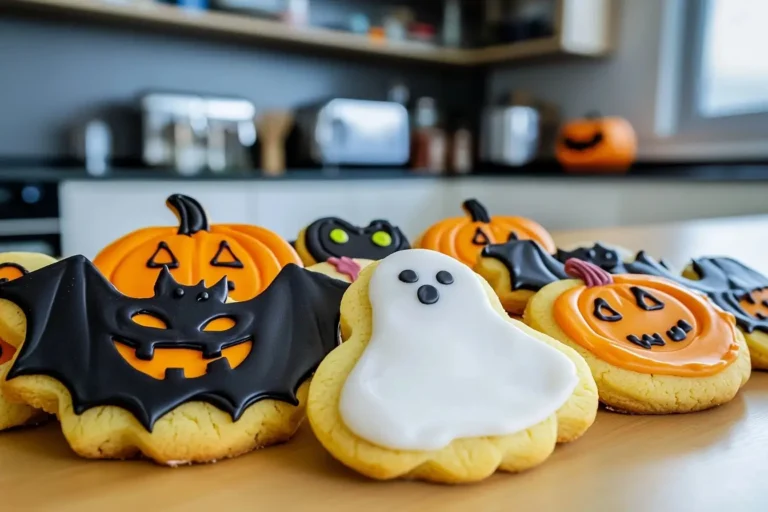
Halloween Cookie Cutters: The Ultimate Guide to Spooky, Sweet Fun
These Halloween sugar cookies are soft, buttery, and full of spooky charm! Made with simple pantry ingredients, they’re perfect for cutting into pumpkins, ghosts, and bats using your favorite cookie cutters. Topped with vibrant icing and sprinkles, they’re a delightful treat for Halloween parties, school events, or a cozy night of baking with the kids. Whether you’re going classic or adding your creative twist, this recipe delivers cookies that are both tasty and Instagram-worthy!
- Total Time: 30 minutes
- Yield: 24 cookies 1x
Ingredients
Cookie Dough
-
2 ¾ cups (340g) all-purpose flour
-
1 tsp baking soda
-
½ tsp baking powder
-
1 cup (227g) unsalted butter, softened
-
1 ½ cups (300g) granulated sugar
-
1 large egg
-
1 tsp vanilla extract
-
½ tsp almond extract (optional)
-
2 tbsp milk
Icing
-
2 cups (240g) powdered sugar
-
1–2 tbsp milk
-
Food coloring (orange, black, green, purple)
-
Sprinkles, candy eyes, edible glitter (for decorating)
Instructions
-
Make the Dough
In a large bowl, cream together the softened butter and granulated sugar until light and fluffy (about 3 minutes). Add in the egg, vanilla, and almond extract. Mix well. Gradually stir in flour, baking soda, and baking powder. Add milk as needed until the dough pulls together. -
Chill
Wrap the dough in plastic wrap and refrigerate for at least 1 hour. This helps the dough firm up and hold its shape during baking. -
Roll and Cut
Preheat oven to 350°F (175°C). On a floured surface, roll the dough to ¼-inch thickness. Dip cookie cutters in flour and cut desired Halloween shapes. -
Bake
Place cookies on a parchment-lined baking sheet. Bake for 8–10 minutes or until edges are lightly golden. Let cool on the pan for 5 minutes before transferring to a wire rack. -
Decorate
Mix powdered sugar and milk to form a smooth icing. Divide into bowls and tint with food coloring. Use piping bags or zip-top bags with snipped corners to decorate. Add sprinkles, candy eyes, and glitter before icing sets.
Notes
-
For Vegan Cookies: Use plant-based butter and a flax egg (1 tbsp flaxseed meal + 3 tbsp water).
-
Flavor Twist: Add a pinch of cinnamon or nutmeg to the dough for warm spice.
-
No Almond Extract? Substitute with more vanilla or lemon extract.
-
Storage: Keep decorated cookies in an airtight container for up to 5 days. Freeze undecorated cookies for up to 3 months.
- Prep Time: 20 minutes
- Cook Time: 10 minutes
- Category: Dessert
- Method: Baking
- Cuisine: American
- Diet: Vegetarian
Nutrition
- Serving Size: 1 cookie
- Calories: 180 kcal
- Sugar: 15g
- Sodium: 60mg
- Fat: 8g
- Saturated Fat: 5g
- Unsaturated Fat: 3g
- Trans Fat: 0g
- Carbohydrates: 24g
- Fiber: 0g
- Protein: 1g
- Cholesterol: 20mg